TorvaldsAffordablePainters
A customizable painting tool for building pieces. Paint your builds with 13 colors using Torvald's painting mallet. Features configurable recipe for server progression and custom color support.Details
Torvald's Affordable Painters
"Hammer some paint onto your creations!"
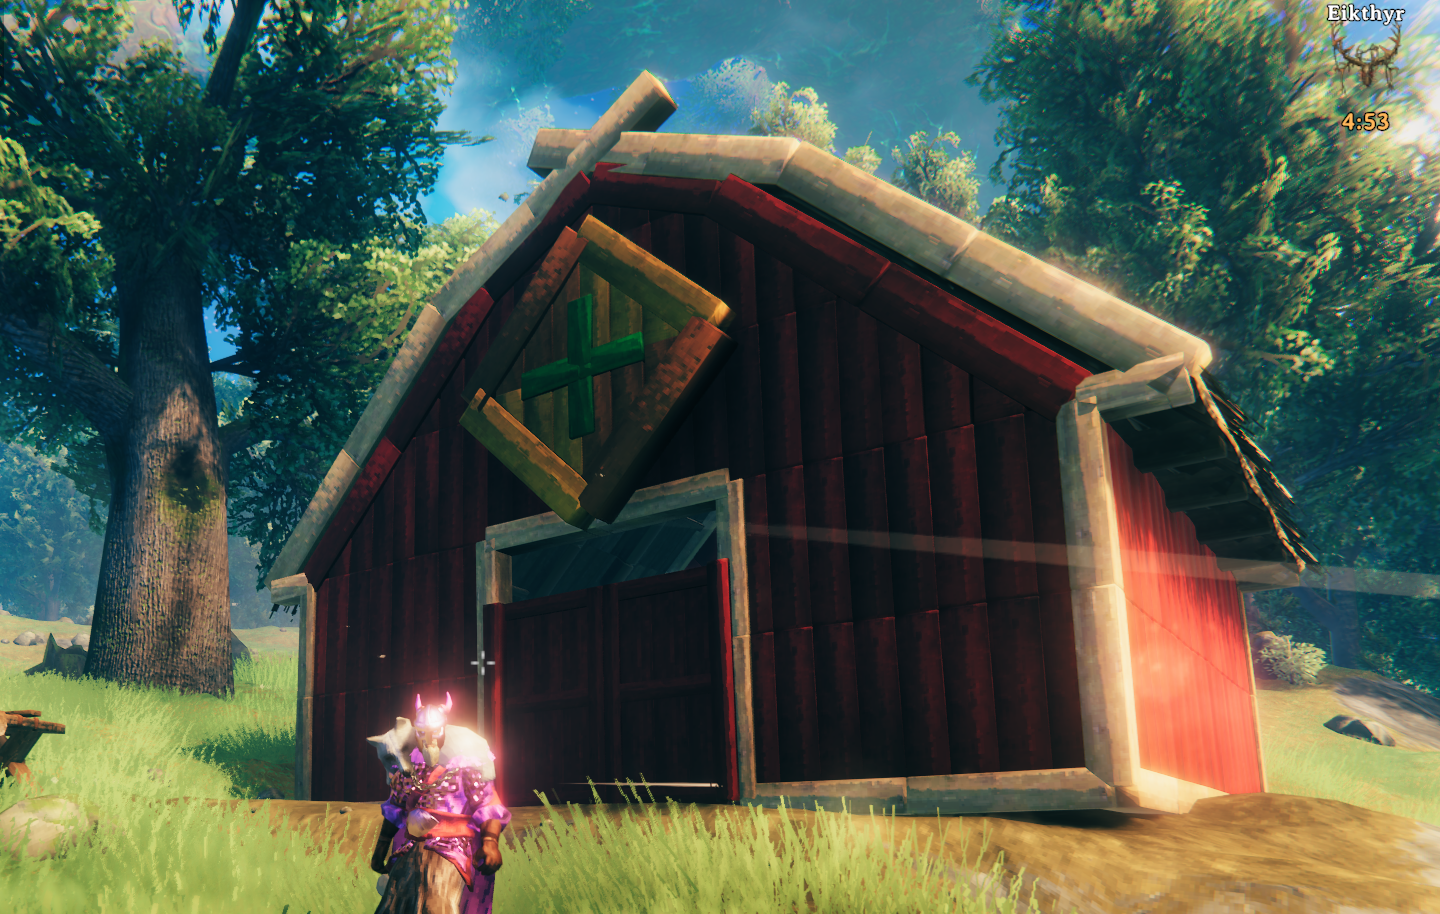
A Valheim mod that lets you paint building pieces with a variety of colors. Torvald's got you covered with his trusty painting mallet - craft it, equip it, and start adding some color to those drab wooden halls.
Now, before you start thinking old Torvald's going to let you paint your longhouse hot pink or neon green - think again! I'm a respectable craftsman, not some crazed alchemist. My colors are carefully chosen to complement what the gods have already blessed us with in this realm. You'll find wood tones that actually look like wood, and paint colors that won't make the neighbors think you've been sampling too much fermented honey. This isn't about turning Valheim into some garish carnival - it's about giving your builds the subtle character they deserve, using colors that actually belong in a Viking's world.
Features
- Paint building pieces with 13 different colors (5 wood tones, 8 paint colors)
- Custom paint-splattered mallet icon to easily distinguish from regular hammer
- Left-click to paint, right-click to open color selector
- Colors persist across game sessions and work in multiplayer
- Configurable recipe system - server admins can change what materials are required
- All colors can be customized through the config file
- Requires workbench by default (can be disabled in config)
How to Use
- Craft Torvald's Painting Mallet at a workbench (default recipe: 10 Wood, 5 Leather Scraps, 1 Coal)
- Equip it like any other tool - no more swinging swords at your walls
- Left-click on building pieces to give them a proper paint job
- Right-click to browse Torvald's color selection and pick your favorite
Configuration
After running the mod once, you'll find a config file at BepInEx/config/cebero.TorvaldsAffordablePainters.cfg.
Recipe Configuration
[Recipe]
# Materials needed to craft the painting mallet
Materials = Wood:10,LeatherScraps:5,Coal:1
# Whether the mallet requires a workbench to craft
RequireWorkbench = true
Recipe Examples:
# Early game (default)
Materials = Wood:10,LeatherScraps:5,Coal:1

# Mid-game progression
Materials = FineWood:8,Bronze:2,TrophyGreydwarf:1

# Late-game luxury
Materials = BlackMetal:1,Silver:2,LoxPelt:1

# Custom themed server
Materials = YggdrasilWood:5,Crystal:3,SurtlingCore:2
Color Customization
All 13 colors are individually configurable using RGB values (0.0 to 3.0):
[Colors.WoodTones]
DarkBrownRGBMultiplier = 0.45,0.25,0.15
MediumBrownRGBMultiplier = 1.2,0.8,0.4
NaturalWoodRGBMultiplier = 1.0,1.0,1.0
LightBrownRGBMultiplier = 1.3,1.1,0.8
PaleWoodRGBMultiplier = 1.1,1.4,1.9

[Colors.PaintColors]
BlackRGBMultiplier = 0.1,0.1,0.1
WhiteRGBMultiplier = 1.55,1.75,1.95
RedRGBMultiplier = 1.5,0.2,0.2
BlueRGBMultiplier = 0.2,0.3,1.5
GreenRGBMultiplier = 0.3,1.5,0.3
YellowRGBMultiplier = 1.8,1.6,0.2
OrangeRGBMultiplier = 1.5,0.9,0.25
PurpleRGBMultiplier = 1.2,0.5,1.4
How Torvald's Painting System Works
The Multiplicative Tinting System
This mod doesn't replace textures or apply solid colors - instead, it uses multiplicative color blending to tint the original wood and stone textures while preserving all their natural detail, grain, and weathering.
What Are RGB Multipliers?
When you paint a piece, the mod multiplies each color channel (Red, Green, Blue) of the original texture by your configured values:
Original_Color × Multiplier = Final_Color- 1.0 = No change (100% of original)
- 0.5 = Darker (50% of original)
- 2.0 = Brighter (200% of original)
Why This System?
This approach preserves the beautiful textures Iron Gate created while allowing color customization:
- Wood grain remains visible through paint
- Stone texture shows through tints
- Weathering and damage still display properly
- Shadows and lighting work naturally
Creating Custom Colors
Understanding the Values
Each color is defined by three numbers: Red,Green,Blue with ranges from 0.0 to 3.0
Basic Principles:
- Darken: Use values below 1.0
- No change: Use 1.0
- Brighten: Use values above 1.0
Color Creation Examples
Understanding Our Default Colors:
Let's examine how our tested defaults achieve their effects:
Dark Walnut Effect:
DarkBrownRGBMultiplier = 0.45,0.25,0.15
# Low values across all channels create deep brown
# Red highest, blue lowest = warm dark tone
Warm Golden Brown:
MediumBrownRGBMultiplier = 1.2,0.8,0.4
# Red boosted, green moderate, blue low = warm amber/honey
# This balances warmth without going too yellow
Cool Driftwood Gray:
PaleWoodRGBMultiplier = 1.1,1.4,1.9
# Progressive increase toward blue counters wood's natural warmth
# Creates weathered, gray appearance
Creating Your Own Colors:
Start with our working defaults and make small adjustments (±0.1 to ±0.3) to get variations. For example:
- Darker walnut: Reduce all values from Dark Brown
- Warmer honey: Increase red/green from Medium Brown
- Cooler gray: Increase blue further from Pale Wood
Important: Multiplicative blending means you're working with the existing wood texture, not creating colors from scratch. Experimentation required. After making changes, repaint pieces to apply the new setting.
Color Temperature and Tone Control
Understanding how each RGB channel affects the final appearance:
Red Channel (First Number):
- Higher Red = Warmer, more reddish (mahogany, cherry wood)
- Lower Red = Cooler tones
Green Channel (Second Number):
- Higher Green + High Red = Yellow/amber tones (golden wood)
- Higher Green + Low Red = More neutral/cooler tones
- Lower Green = Magenta/purple shift
Blue Channel (Third Number):
- Higher Blue = Cooler, grayer tones (counters wood's natural warmth)
- Lower Blue = Warmer, more yellow/orange tones
Practical Examples:
WarmMahogany = 1.2,0.8,0.4     # High red, low blue = warm reddish
CoolDriftwood = 1.1,1.4,1.9    # Progressive blue increase = gray weathered look
NeutralGray = 1.2,1.2,1.2      # Equal values = neutral gray
Tips for Color Creation
- Start with existing colors - Modify our defaults slightly to get variations
- Test incrementally - Small changes (±0.1) can make big differences
- Consider the base texture - Dark wood needs higher values than light wood
- Account for lighting - Valheim's day/night cycle affects appearance
- Use blue to cool - Increase blue channel to counter wood's warm tones
- Balance red/green - These create warm golden tones when combined
Graphics Settings for Testing Color Display
For the most accurate color representation and consistent appearance when tweaking colors:
- Disable Bloom in Valheim's graphics settings
- This prevents bright colors (White, Yellow) from appearing "blown out"
- Reduces glow/halo effects around painted objects
- Provides more consistent color appearance across day/night cycles
Note: Bloom can dramatically affect how HDR colors (values >1.0) appear, especially in bright lighting conditions.
Advanced Filtering Options
Control what objects can be painted:
[Filtering]
# Building categories that can be painted (flags: Building, Furniture, Crafting, Misc, All)
AllowedCategories = Building, Furniture
# Functional groups to exclude (flags: Stations, Production, Storage, Beds, PortalsWard, Transport, etc.)
ExcludedFunctional = Stations, Production, Storage, Beds, PortalsWard, Transport
# Material types that can be painted (flags: Wood, Stone, Metal, Marble, All)
AllowedMaterials = Wood, Stone, Marble
# Specific prefabs to always allow (comma-separated)
WhitelistPrefabs =
# Specific prefabs to always block (comma-separated, overrides whitelist)
BlacklistPrefabs =
Debug Options
[Debug]
# Logging level (None=0, Basic=1, Detailed=2, Debug=3)
LogLevel = Basic
# Maximum painting distance in meters
MaxPaintDistance = 8.0
# Require build permission to paint objects
RequireBuildPermission = true
Note: You need to restart the game for config changes to take effect.
Server Administrators
Torvald's business model is flexible - want to make his services more exclusive? Just change the recipe to require fancier materials. Gate it behind silver and black metal if you want painting to be a proper end-game luxury. The recipe system accepts any valid Valheim item names, so get creative.
Installation
Install with a mod manager or manually place the files in your BepInEx/plugins folder. Requires BepInEx and Jotunn.